When creating art on your iPad, you want to get the most out of your creative potential. Whether it’s finding the right Procreate brushes for your scribbles and sketches, or the perfect short-cut keyboard to enhance your efficiency, having tools that seamlessly integrate with your workflow is essential. The same applies to finding the best Procreate stylus. This blog will guide you through selecting the ideal stylus to elevate your Procreate experience!
Understanding Procreate and Stylus Compatibility
Procreate does not work with just any iPad stylus. Especially since the Procreate 5.3 software update, third-party stylus support has become limited. To benefit from all the functionalities of your stylus in Procreate, you will need one with Apple Pencil technology.
When a stylus has Apple Pencil technology, it features functions similar to those in the Apple Pencil, such as tilt recognition, pressure sensitivity, and/or palm rejection. In Procreate, this means your strokes will accurately reflect your movements on the digital canvas. This is crucial: as a digital artist, you want your artwork to turn out exactly as intended, while maintaining the intuitiveness and precision of traditional art tools. Understanding what to look for in a stylus is essential to finding the best one for your needs.

Key Features to Look For
Depending on your creative style, you may already have an idea of the functions your ideal Procreate stylus should have. For instance, if you use a Drawing Glove, pressure sensitivity may be more important to you than palm rejection. Here are the key features to consider when selecting your Procreate stylus:
1. Pressure sensitivity
Pressure sensitivity affects stroke thickness and opacity based on how hard you press the stylus. With this feature, you can apply more details and techniques to your art, such as smooth transitions between transparent and opaque strokes in watercoloring, or varying line thickness in calligraphy.
2. Tilt sensitivity
When using a traditional graphite pencil, tilting it horizontally allows you to create softer strokes for shading, while tilting it vertically produces sharper lines. Similarly, a stylus with tilt sensitivity will allow you to create nuanced shading and texturing effects in your artwork.
3. Palm rejection
There’s nothing more frustrating in Procreate than discovering an unintended stroke on an unknown layer, caused by your hand resting on the screen. Palm rejection ensures that only your stylus strokes are registered, so that you can create with better focus and precision.
4. Battery life and charging methods
If you like to create on the go, a stylus with long battery life and magnetic charging is ideal. If you’re a desk-based artist, such features may not be your priority. Considering the battery life and charging method will help you choose a stylus that suits your art habits.
5. Ergonomics and comfort
The perfect stylus does not hinder your comfort during long drawing sessions. If your chosen stylus does lack such ergonomic features, consider adding an Ergonomic Grip. This can help prevent cramps and reduce slipperiness, making your creative process more enjoyable.

Types of Styluses for Procreate
Besides considering the features mentioned above, one more essential factor is Procreate compatibility. While many third-party styluses may seem great at first sight for art on your iPad, they might not work optimally with Procreate. For example, the JamJake Stylus Pen, the Zagg Pro Stylus 2, and several Adonit styluses offer impressive features such as palm rejection and tilt sensitivity, while simultaneously boasting a great battery life. However, these styluses won’t fully function in Procreate. To help you find the perfect tool for your digital artwork, we’ve compiled a list of the best Procreate-compatible styluses.
Our Top Stylus Recommendations
We believe that nothing should hinder your creativity. Since Procreate is built with the Apple Pencil in mind, it is the ideal choice for digital artists who want to get the most out of their Procreate stylus. These are the best ones, ranked:
1. Apple Pencil Pro
Being the newest and most feature-rich addition to the Apple Pencil catalog, Apple Pencil Pro will fully cater to your creative freedom in Procreate. With some beautiful innovations that set it apart from previous generations, Apple Pencil Pro includes:
2. Apple Pencil 2nd generation
Don’t have the newest iPad yet? No worries, Apple Pencil 2 will give you the main functions you need to let your digital creativity thrive.
3. Apple Pencil USB-C
If you have a smaller budget but still want to get the basic features that you need as a digital artist, the Apple Pencil USB-C will be a great choice as your Procreate stylus. You’ll get:
If, instead of the hover function, you prefer a Procreate stylus with pressure sensitivity, Apple Pencil 1 will be your go-to choice. However, you won’t be able to magnetically attach this one to your iPad, and it is a bit more costly.
Another beginner-friendly option is the Logitech Crayon, currently the only third-party stylus that will retain full functioning in Procreate thanks to its Apple Pencil technology. Priced slightly below the Apple Pencil USB-C, the Logitech Crayon will introduce you to tilt sensitivity and palm rejection. However, this stylus is missing the pressure sensitivity feature that Apple Pencil 1, and the hover feature that Apple Pencil USB-C offer.
Enhancing your Apple Pencil
Besides being a feature-rich stylus that optimizes your creative abilities in Procreate, the Apple Pencil allows your creativity to extend beyond the digital realm.
If purchased from Apple’s website, you can have your Apple Pencil Pro or Apple Pencil 2 engraved for free, personalizing it with emojis or text. Additionally, you can enhance your Apple Pencil with products designed to make it feel more like traditional art tools.
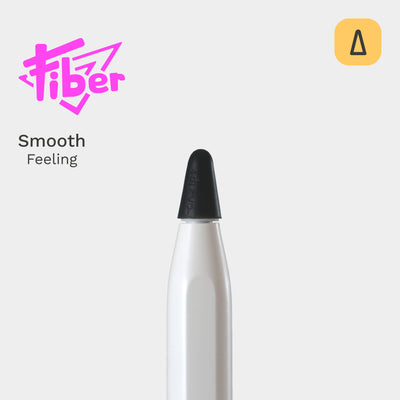
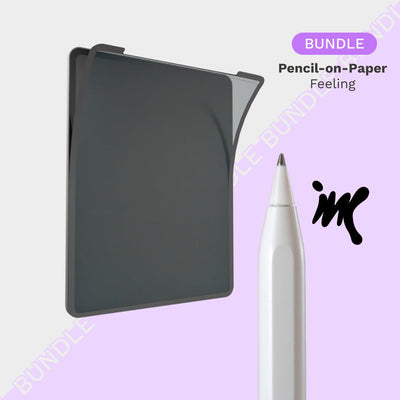
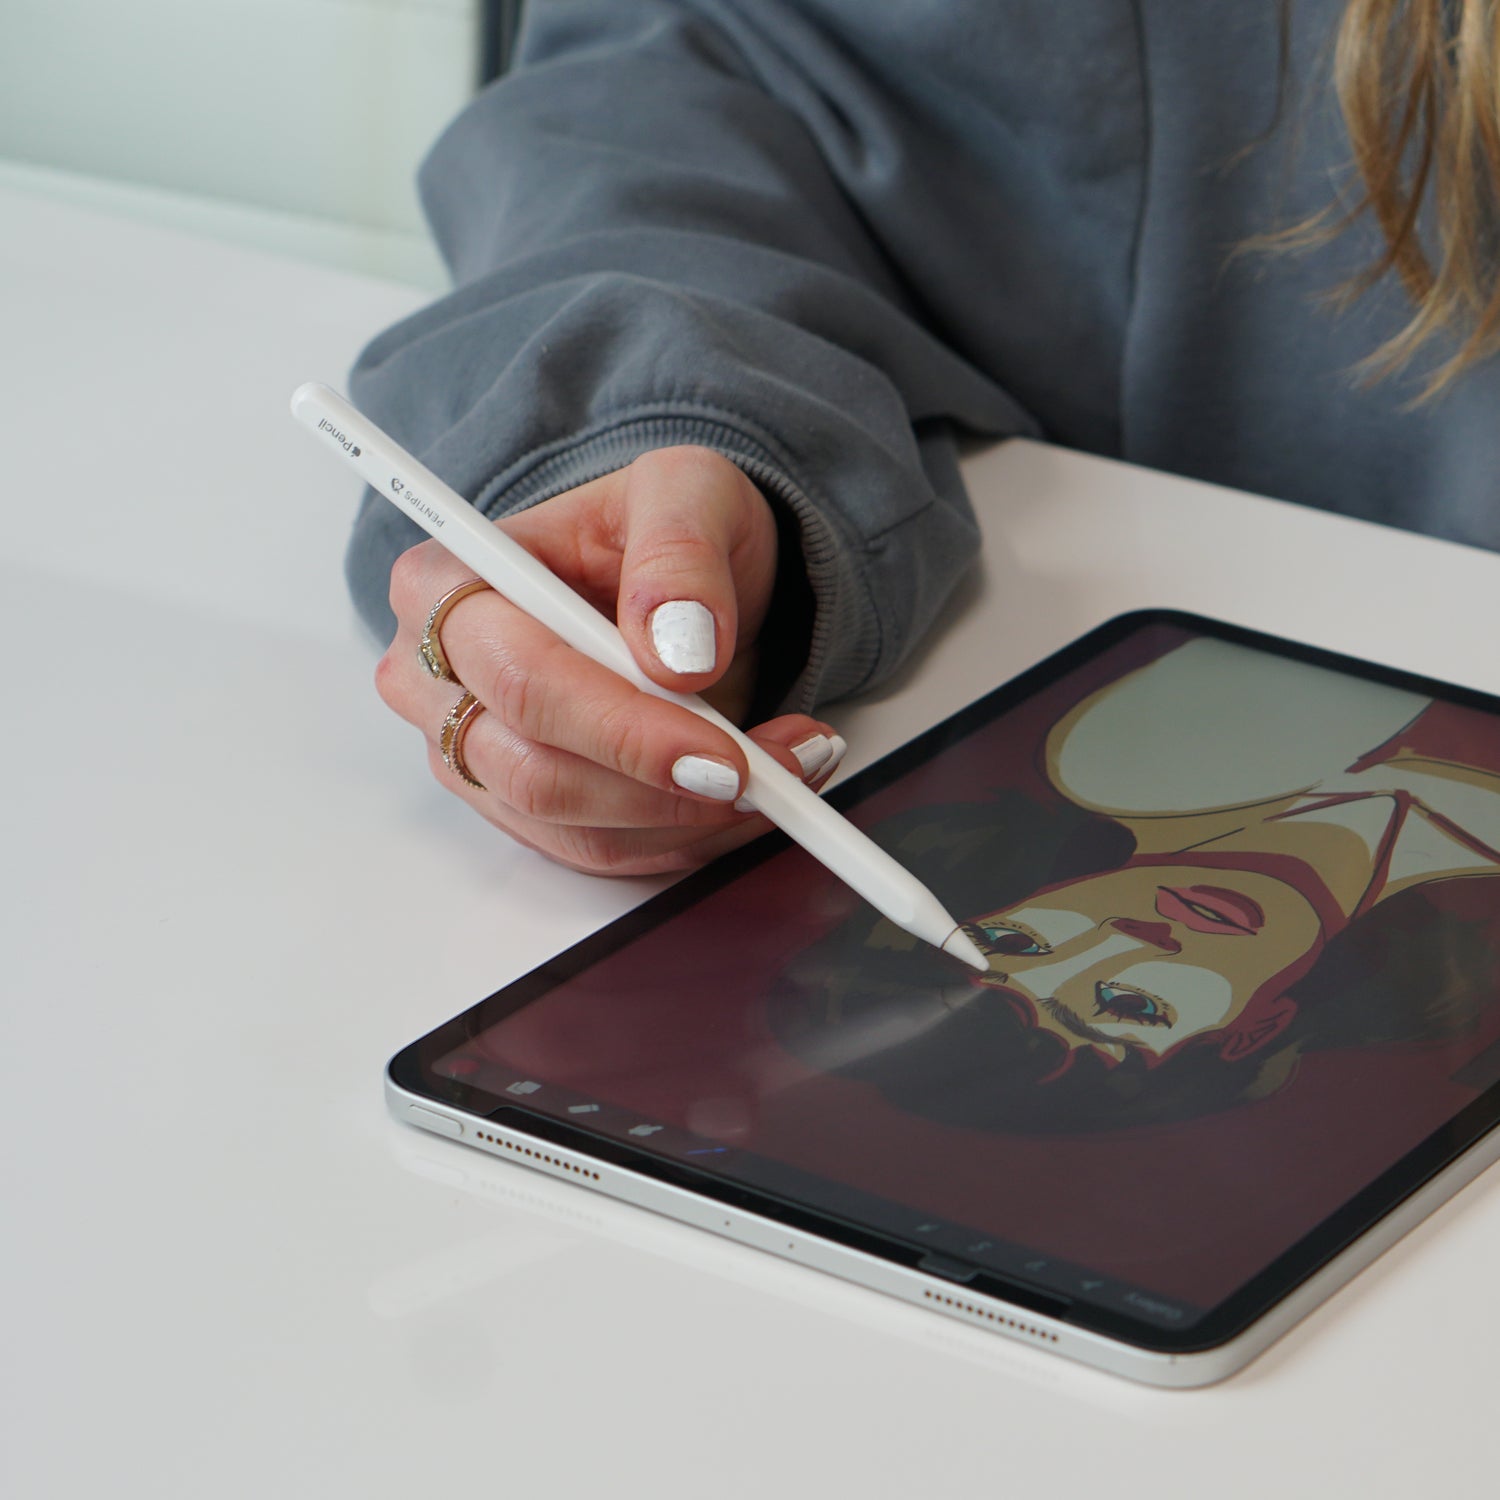
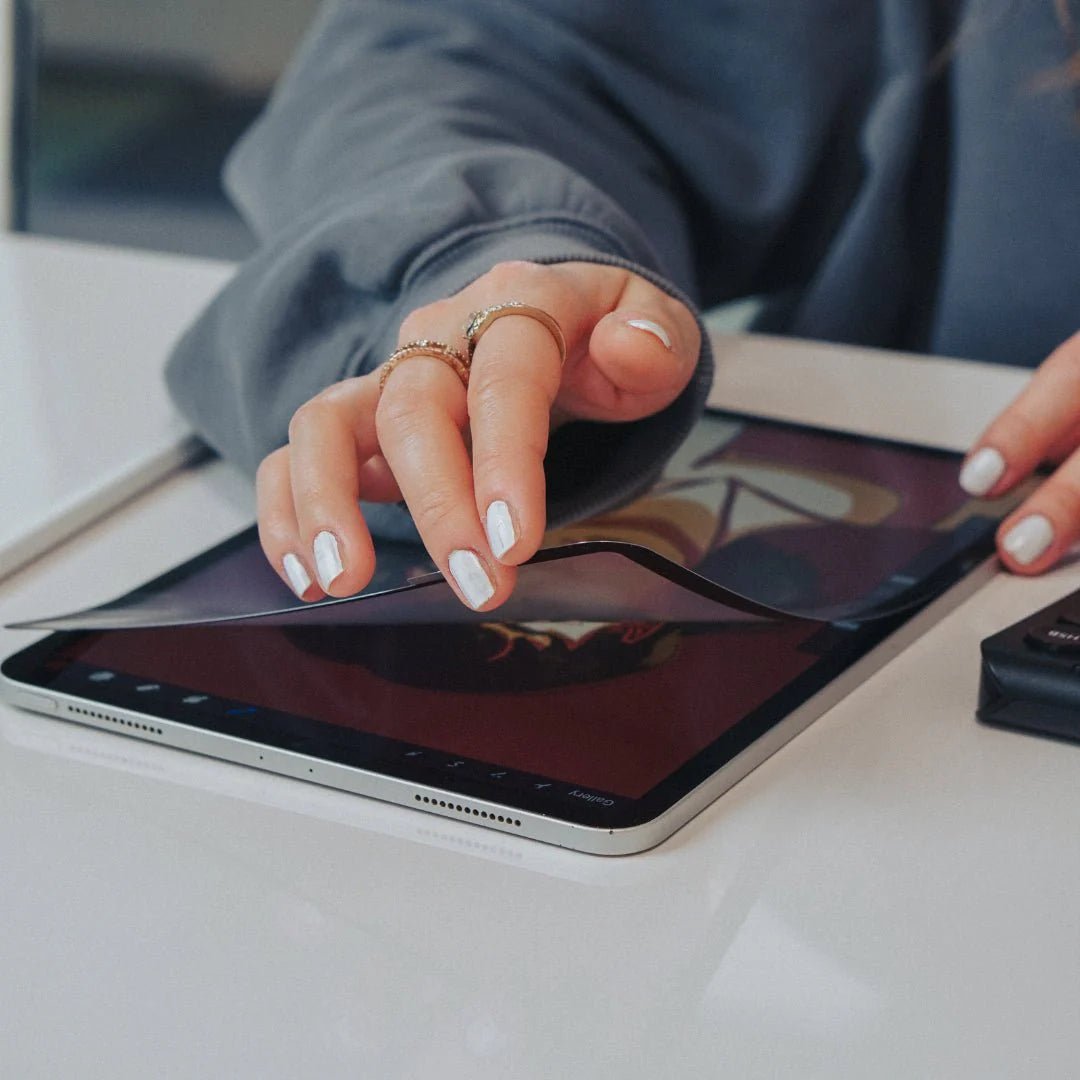
For example, replacing the hard plastic Apple tip with the lightly textured PenTips 2+ can make your Apple Pencil feel like a soft graphite pencil. The Traditional Artist Bundle provides an authentic pen-on-paper experience, perfect for sketching, detailed work, and line art. To add a dash of color, the slip-on PenTips Lite come in 10 color options and offer better control over your strokes on the glassy iPad screen.
For improved ergonomics, consider adding the Ergonomic Grip to your Apple Pencil. It will prevent finger fatigue during long drawing sessions, so that you can make the most out of your valuable creative time.

Troubleshooting Common Issues
iPad and Procreate are both completely fine-tuned to the Apple Pencil, so the following issues should rarely happen. But when they do, here’s what you can do to resolve them:
Connection problems and how to resolve them
If your Apple Pencil is failing to connect to your iPad, these steps can help:
Calibration issues and adjustments
If your Apple Pencil is not making proper lines on the iPad, you can recalibrate it to get back to perfect precision. Here’s how you do it:
Updating your iPad to the latest iPadOS version can also help optimize the functionality of your Apple Pencil.
Dealing with stylus lag or unresponsiveness in Procreate
If your Apple Pencil is specifically struggling in Procreate, try out these solutions:
We hope these common solutions to Apple Pencil problems will help you overcome any issues quickly!
Additional Resources
Whether you’re a Procreate veteran or just starting out, mastering all the settings in Procreate is less straightforward than using traditional art tools. Here are some additional resources to help you navigate this:
Moreover, Procreate offers a forum where digital artists can post their questions and suggestions about the app. This is a valuable resource for both beginners and professionals.
Conclusion
With an overview of the ultimate features and tips for getting the most out of your Procreate stylus, you're well on your way to come to your full potential as a digital artist. But don’t stop there! Optimizing your creative freedom continues with tools like the PenPad, which brings the best features of Procreate right to your fingertips. We look forward to seeing your creativity thrive!

FAQs
Can I use any stylus with Procreate?
No, Procreate limits third-party stylus support, so you will need one with Apple Pencil technology. Currently, the most feature-rich styluses that offer this are the Apple Pencil Pro and Apple Pencil 2.
How do I pair my stylus with Procreate?
Once you’ve paired your stylus with the iPad, it should also work in Procreate. If you don’t see your lines, make sure you have a brush selected and that the opacity slider is up.
What’s the difference between the Apple Pencil 1st and 2nd generation?
The Apple Pencil 2nd generation offers several improvements over the 1st generation. While both models feature pressure sensitivity, tilt recognition, palm rejection, and hover, the Apple Pencil 2 also includes magnetic charging and a double-tap feature. These extra features make the Apple Pencil 2 a more convenient and versatile stylus to use.


Leave a comment
All comments are moderated before being published.
This site is protected by hCaptcha and the hCaptcha Privacy Policy and Terms of Service apply.