Mastering the Art of Custom Brushes in Procreate

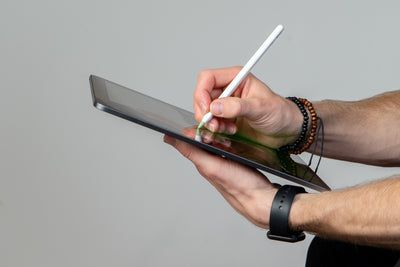
For digital artists, Procreate has become the go-to application for unleashing their creativity. One of the key features that makes Procreate so powerful is its ability to create and customize brushes. By mastering the art of creating custom brushes, artists can elevate their work to new heights, allowing for unique and personalized digital creations. In this blog post, we'll explore the process of creating a brush in Procreate and provide you with valuable tips and techniques to help you craft your own digital masterpiece.
Step 1: Understanding the Brush Library
Before diving into creating your own custom brushes, familiarize yourself with the brush library in Procreate. Take some time to explore the extensive range of pre-installed brushes and observe their characteristics, such as shape, texture, and dynamics. This understanding will serve as a foundation for creating brushes that suit your individual style and needs.

Step 2: Accessing the Brush Studio
To create a custom brush, open Procreate and navigate to the brush library. Tap the "+" icon at the top right corner of the screen to access the Brush Studio, where the magic happens. Here, you'll find a multitude of settings that can be adjusted to design your desired brush.

Step 3: Adjusting Brush Settings
The Brush Studio offers a plethora of parameters to modify and customize your brush. Experiment with different settings to achieve the desired effect. Here are some essential settings you can tweak:
a. Shape: Alter the shape of the brush using the "Shape" tab. Adjust the size, angle, and roundness to create brushes ranging from sharp, precise lines to soft, organic strokes.
b. Grain and Texture: The "Grain" and "Texture" tabs allow you to add depth and texture to your brush. Play around with various grain types, grain scale, and texture overlays to give your brush a unique feel.
c. Dynamics: Under the "Dynamics" tab, you can control how your brush responds to pressure, tilt, and speed. Experiment with different dynamics to create brushes that mimic real-life tools or develop dynamic effects unique to digital art.
d. Jitter: The "Jitter" tab enables you to introduce randomness into your brush strokes. Adjusting jitter parameters like scatter, size, and angle can produce interesting and unpredictable results, perfect for adding natural variations.

Step 4: Testing and Refining
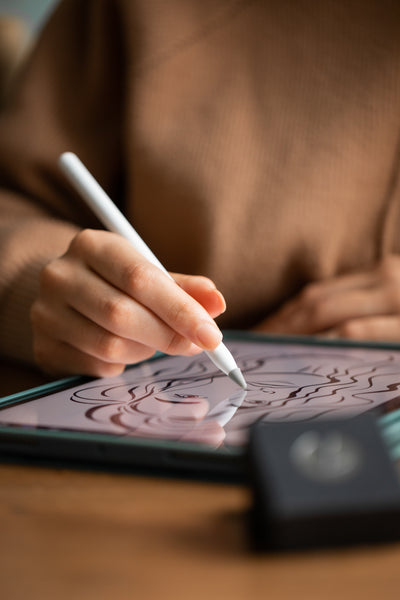
After adjusting the brush settings to your liking, it's time to test your creation. Use the canvas as your playground, experimenting with strokes of various sizes, pressures, and angles. Observe how the brush behaves and make note of any adjustments required to fine-tune the brush further.
Step 5: Saving and Organizing Brushes
Once you're satisfied with your custom brush, save it for future use. Tap your brush and slide to the left, then press "Duplicate." This creates a copy of your brush, which you can rename and organize into sets for easy access. Organizing your brushes effectively will save you time and keep your digital toolbox well-structured.

Step 6: Sharing and Exploring Community Brushes
Don't hesitate to explore and download brushes from artists who are generous enough to share their creations. Additionally, consider sharing your own custom brushes with the community to contribute to the creative ecosystem and inspire others! You can do so on brushes.pen.tips, our own platform for and by artists to share their Procreate and Photoshop brushes (p.s., did you know Photoshop brushes can be used in Procreate?).

Conclusion
Creating custom brushes in Procreate is a captivating journey that allows digital artists to shape their unique artistic style. By understanding the intricacies of brush settings and experimenting with various parameters, artists can unlock an endless array of creative possibilities. Whether you're seeking realistic textures, expressive strokes, or futuristic effects, Procreate's brush customization capabilities have you covered. Embrace the process, embrace your creativity, and let your imagination run wild as you craft your own digital masterpieces.


Leave a comment